

Top 10 Recipes
- Loaded Sheet-Pan Nachos for a Fun Game Night Snack
- Lemon Blueberry Overnight French Toast Delight
- Herb Roasted Sweet Potato Wedges Flavorful and Easy
- Creamy Roasted Red Pepper Soup Flavorful and Comforting
- Red Velvet Crinkle Cookies Irresistible and Tasty Treat
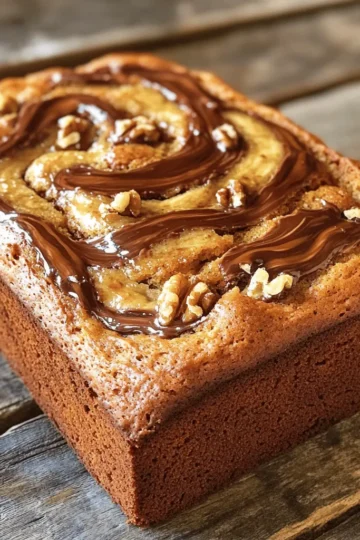
- Delicious Banana Nutella Swirl Bread Easy Recipe
- Crispy Garlic Parmesan Zucchini Fries Delightful Snack
- Cilantro Lime Shrimp Tacos Flavorful and Fresh Meal


Hi I’m Taling
I love sharing perfected dishes from my kitchen. I’m sure they’ll earn a spot in your heart. Let’s savor this journey together!.
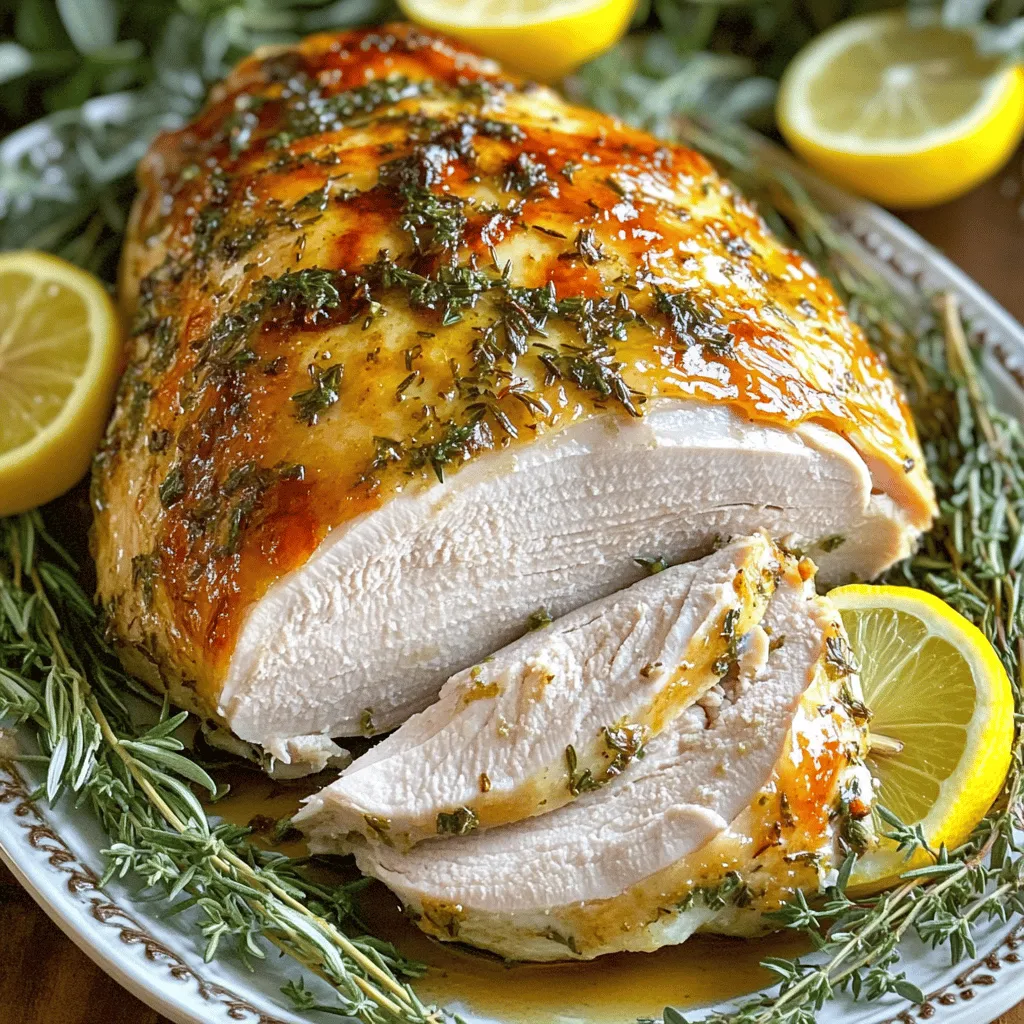
Garlic Herb Roasted Turkey Breast
Ready to impress your family with a dish that’s both easy to make and full of flavor?
Recent Recipes
- Chicken Alfredo Stuffed Zucchini Boats Tasty Meal
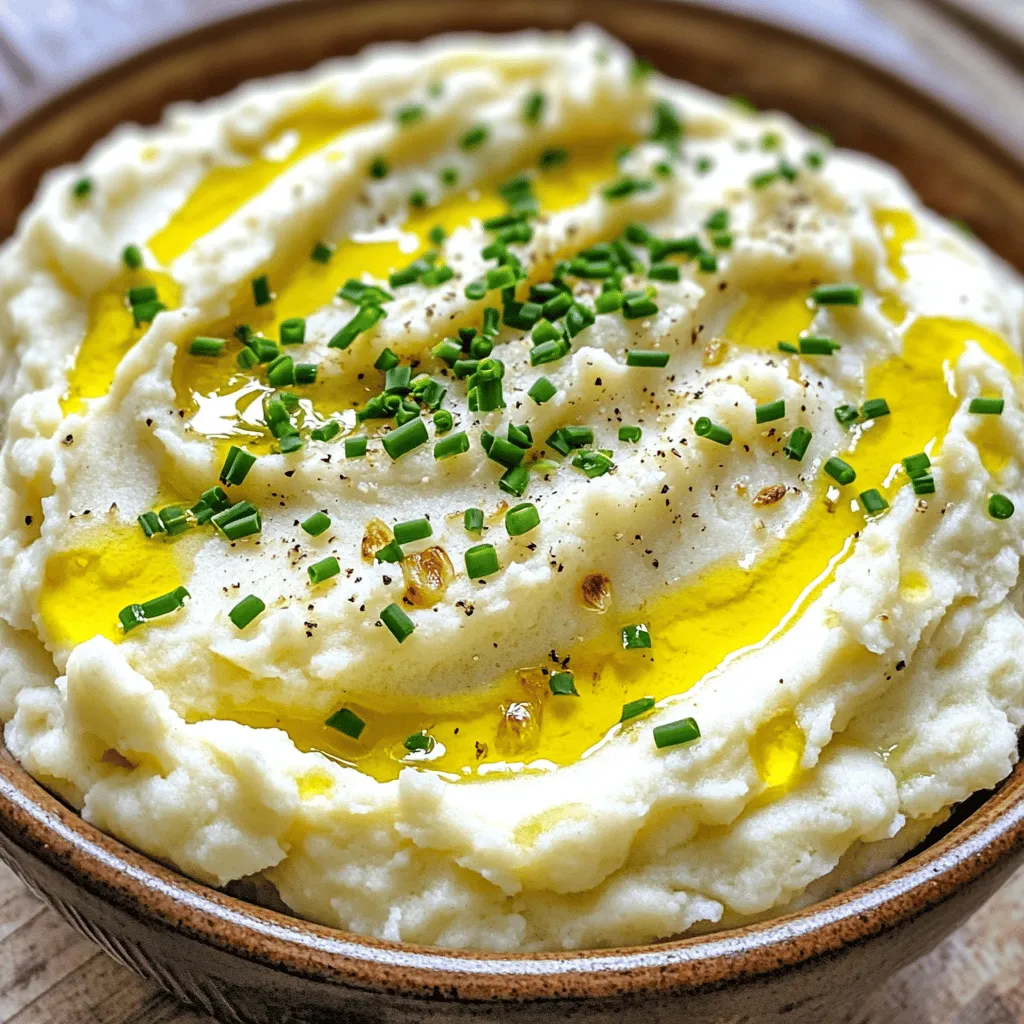
- Roasted Garlic Mashed Cauliflower Creamy Delight
- Lemon Blueberry Overnight Oats Simple and Tasty Recipe
- BBQ Ranch Chicken Salad Tasty and Fresh Delight
- Vegan Chocolate Tahini Cookies Irresistible Delight
- Chicken Caesar Pasta Salad Fresh and Flavorful Dish
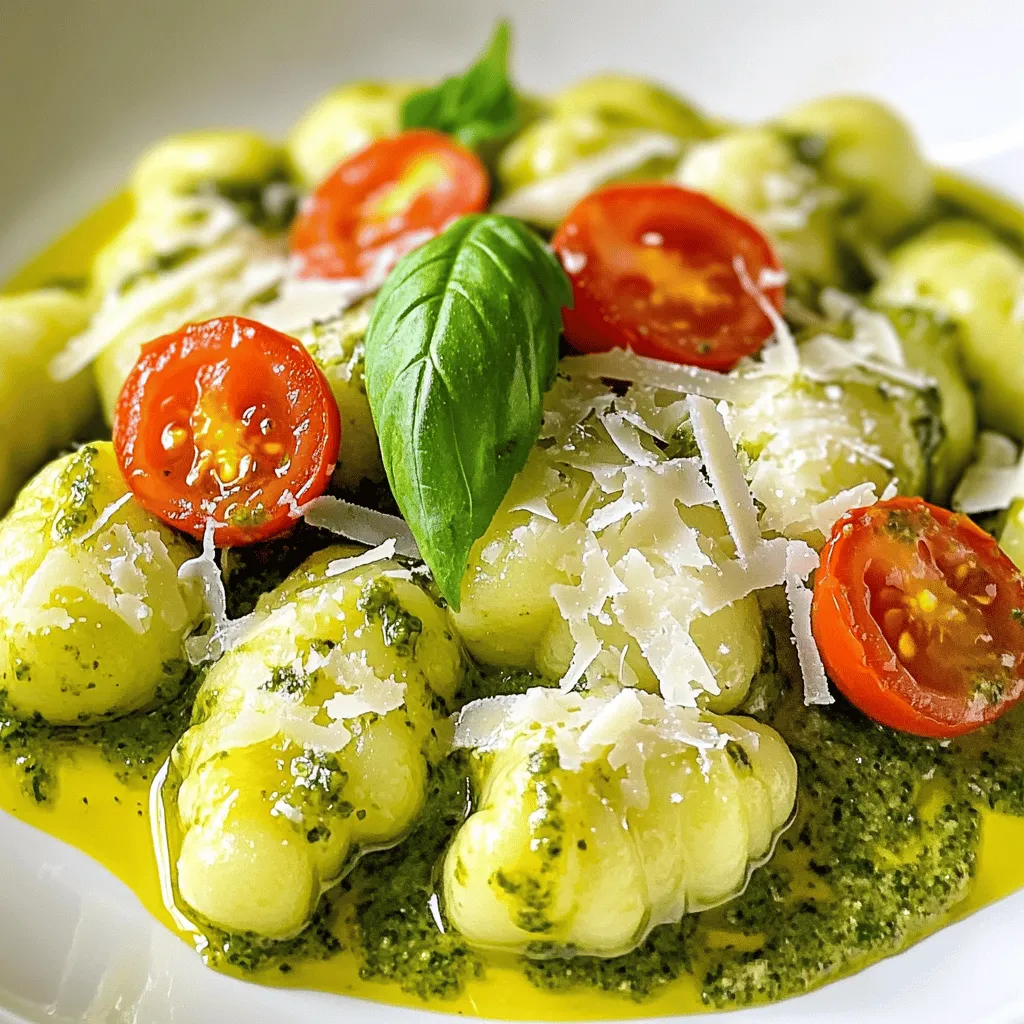
- Creamy Pesto Gnocchi Delight Simple and Flavorful Meal
- Teriyaki Meatball Rice Bowls Simple and Flavorful Meal
- Blueberry Lemon Yogurt Muffins Fast and Tasty Recipe
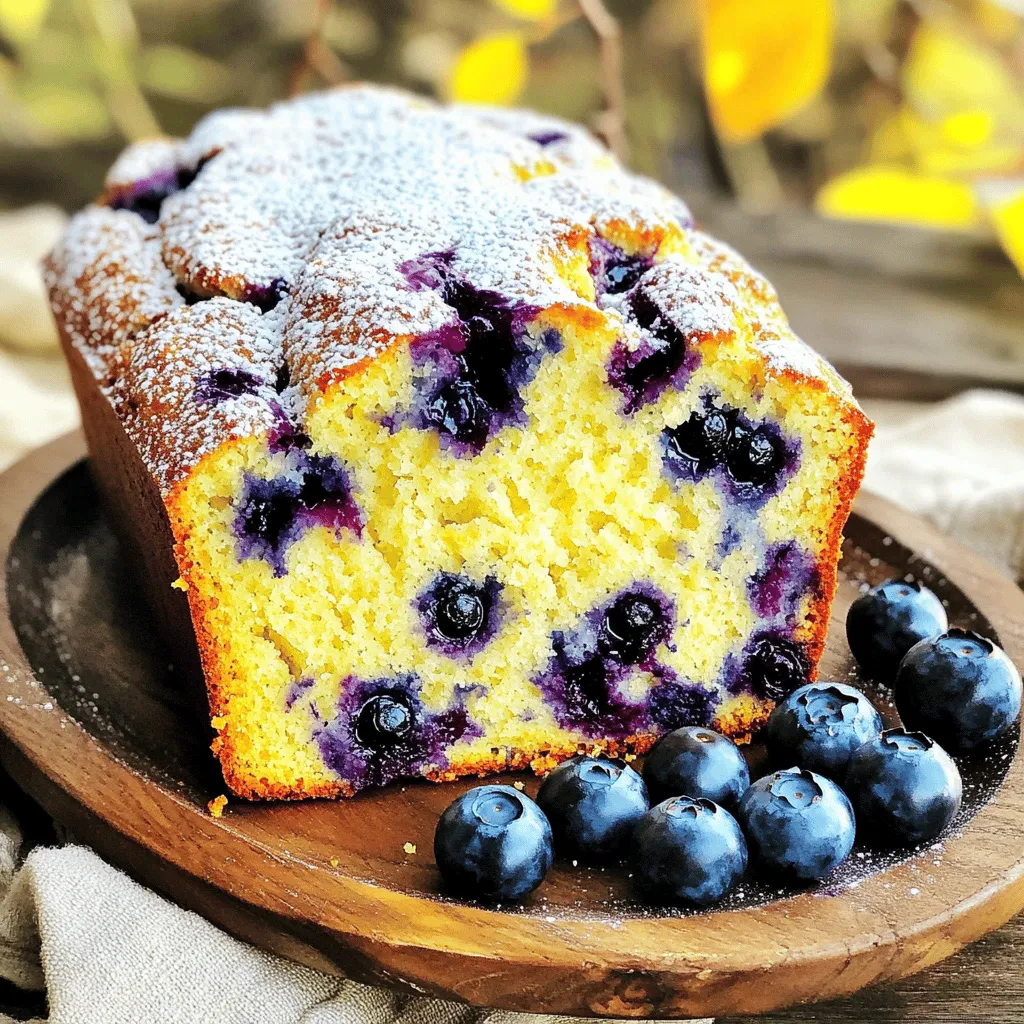
- Blueberry Lemon Yogurt Bread Delightful and Simple Recipe
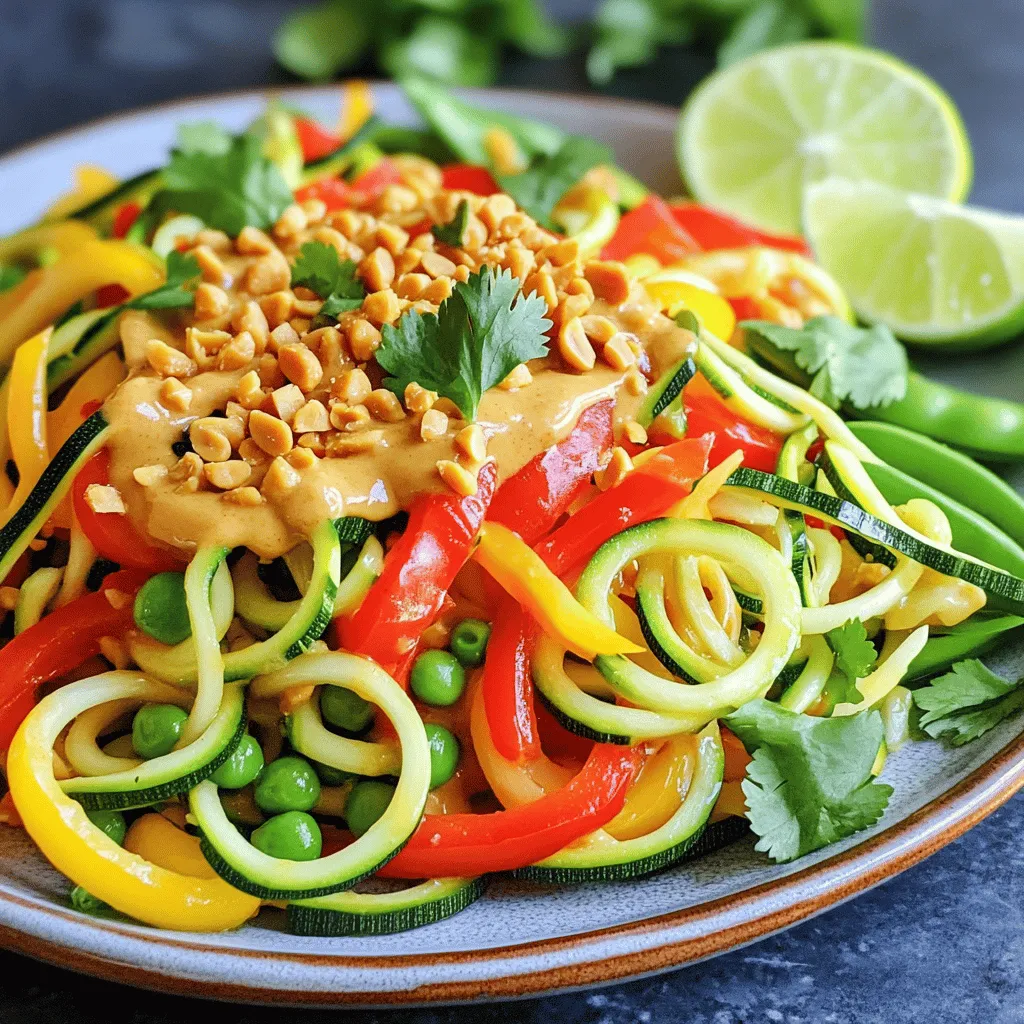
- Thai Peanut Zoodle Stir Fry Flavorful and Quick Meal
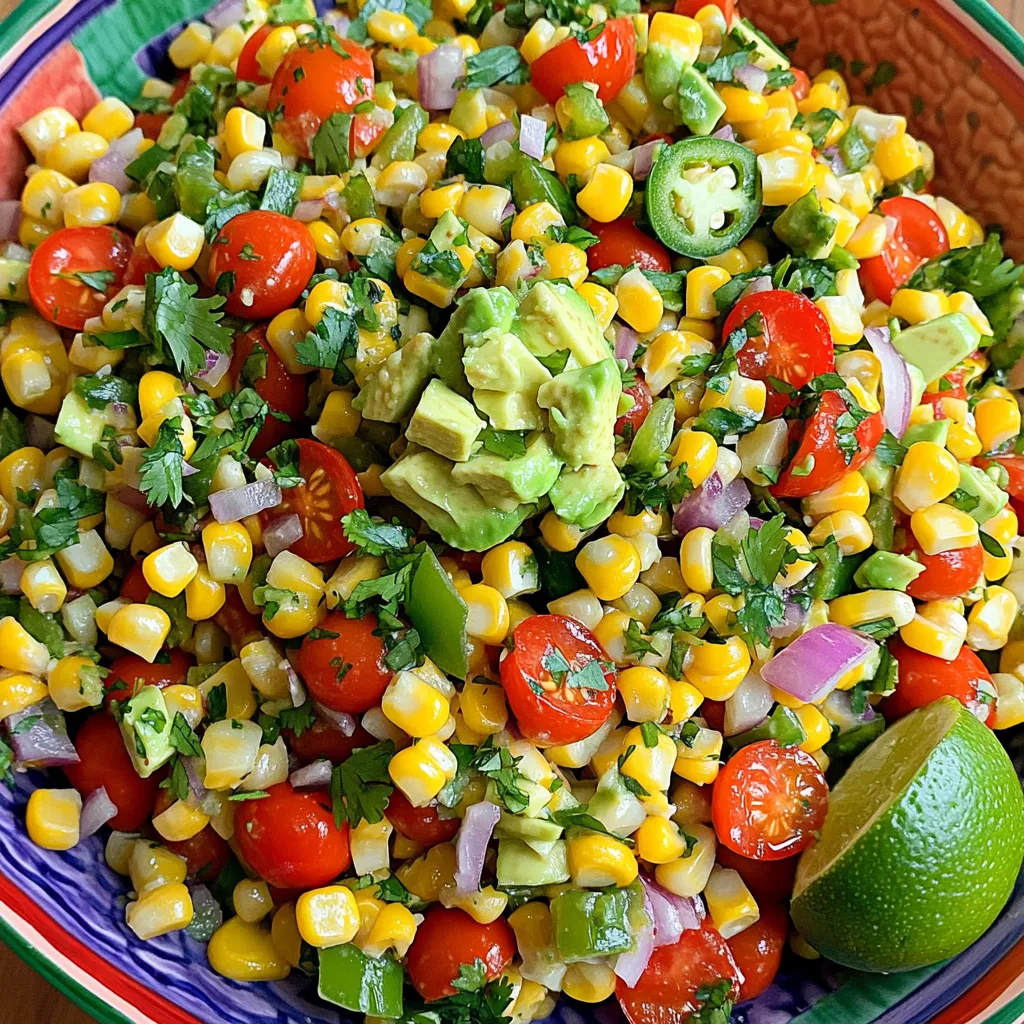
- Fiesta Corn Salad Fresh and Flavorful Side Dish